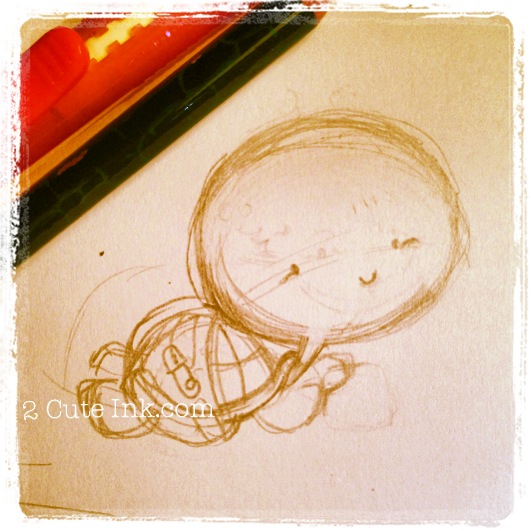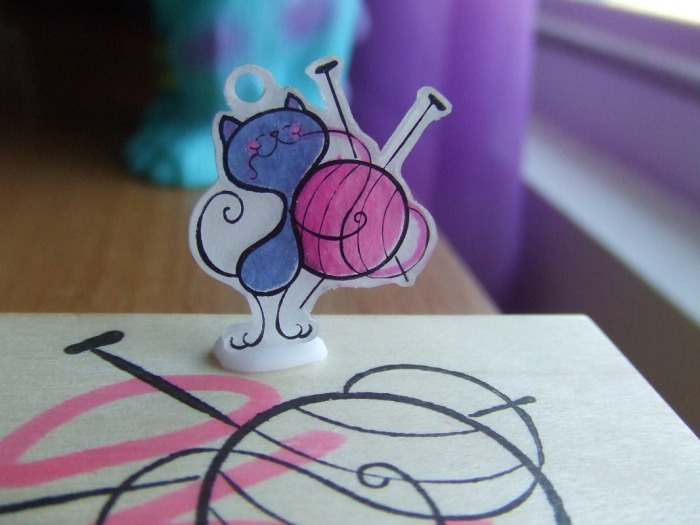
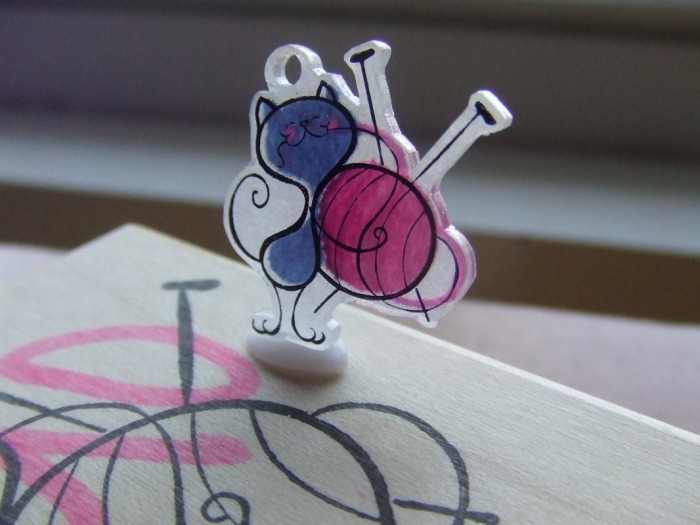
So today I made my first Shrinky Dink using my Cat-Knit rubber stamp. I originally wanted to try and make a key chain, but I didn't realize that the shrinky dinks shrink so much! So I used some clear shrinky dink paper that had a frosted backing and used my cat-knit rubber stamp and starz on ink to create this cute charm. I first stamped the image onto the clear side of the shrinky dink paper and let dry for 5 minutes. I then started coloring on the frosted side with sharpie markers. I wasn't sure that the sharpie markers would be that vibrant so I then used a white colored pencil and colored over the sharpie marker so the back was completely white. I think this brightened up the sharpie colors! I then punched a hole with a hole puncher and cut around the image as close as I could! Placed it in the oven at 325 on a piece of cardboard rough side up and set the timer for 3 minutes and watched it shrink! I think it came out pretty cute! I may make it into a necklace pendant, and am also thinking about giving it a glossy coat to protect it even more!. If you have any shrinky dink tips please let me know! I would like to try again using the crystal clear and solid white Shrinky Dink paper to see the difference!