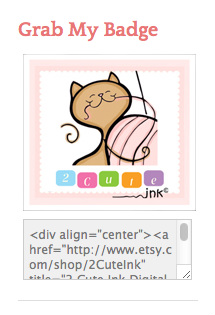
I have seen "Grab My Button" codes on other digital stamp blogs a while now and always wanted to have one made for my 2 Cute Ink digital stamp shop. Since I have been updating everything about
2 Cute Ink I thought why not update my logo badge and figure out how to create a Grab My Button code. My artsy friend Patti from Pholk Art Studios posted a link on Facebook to a "Grab My Button" Code generator. I clicked on it and it was exactly what I needed to make my code button for my blog. Now you have to do a few things in order to make your button code so I thought I would create some directions so everyone can learn how to make one.
2 Cute Ink I thought why not update my logo badge and figure out how to create a Grab My Button code. My artsy friend Patti from Pholk Art Studios posted a link on Facebook to a "Grab My Button" Code generator. I clicked on it and it was exactly what I needed to make my code button for my blog. Now you have to do a few things in order to make your button code so I thought I would create some directions so everyone can learn how to make one.
Steps To Create A Grab My Button:
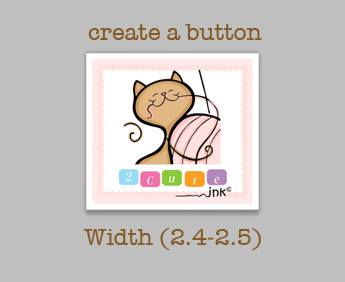
Step 1. Create a button using a program like Photo Shop. Make sure the width does not exceed 2.5 or it may get cut off in your blog's side bar. I had to use 2.4 for my width in my weebly blog because 2.5 width was a tad to wide. I created my button big and then scaled it down to 2.17x2.4 and it fits just perfect in both my weebly and blogger blogs.
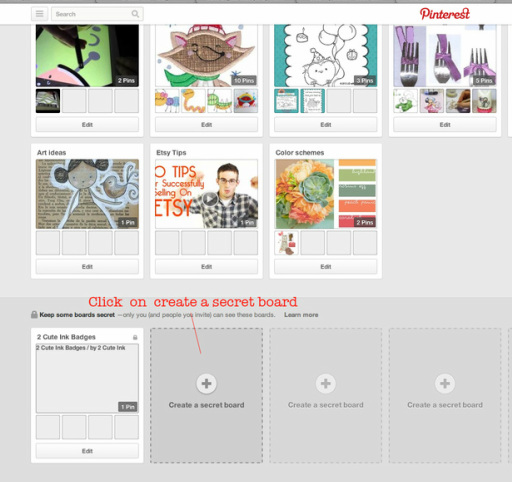
Step 2. Login into your Pinterest and Create a New Board ( I created a secret board).
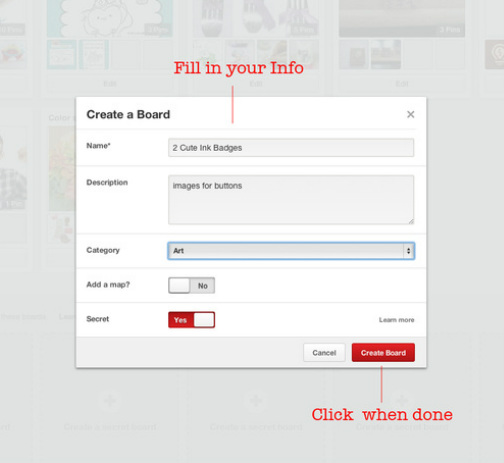
Step 3. Fill in the Info to create your board.
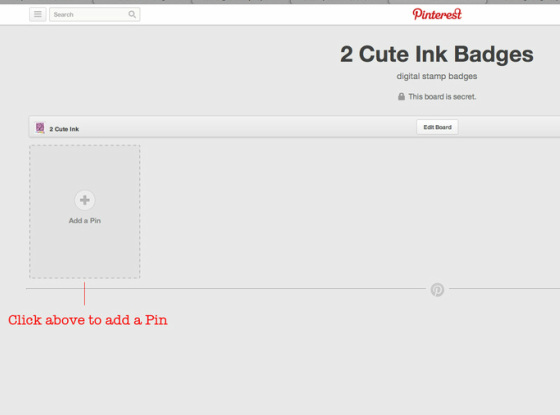
Step 4. Click the "Add Pin" Button.
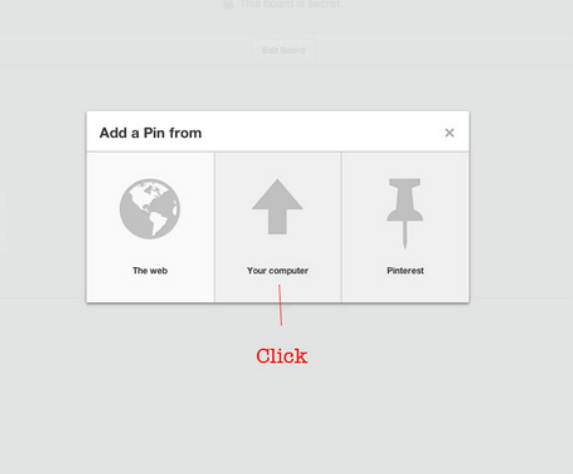
Step 5. Click " Your Computer" to upload your button image.
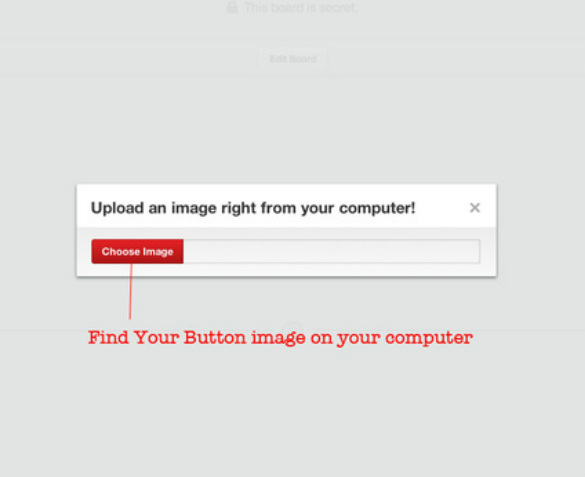
Step 6. Find your button image on your computer.
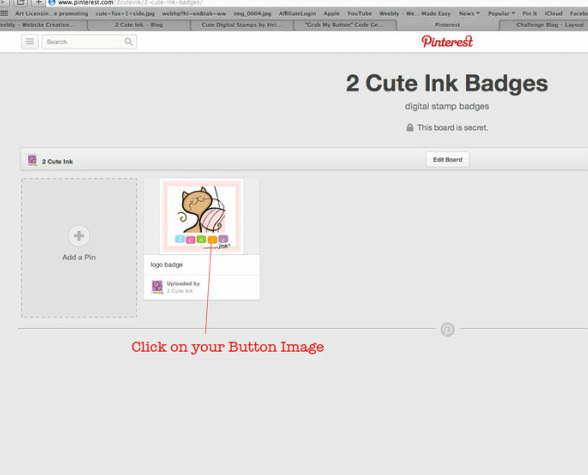
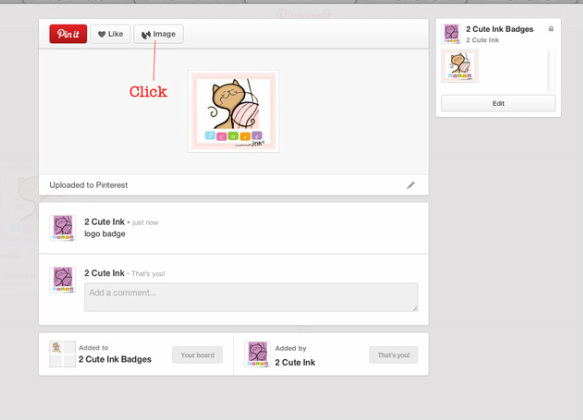
Step 7. Click on your button image that is now in your board.
Step 8. Now Click the Image Button on the top
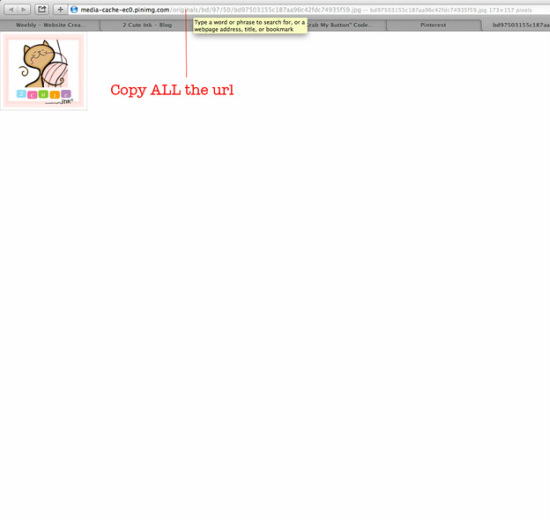
Step 9. Highlight all the URL of your image and press copy.
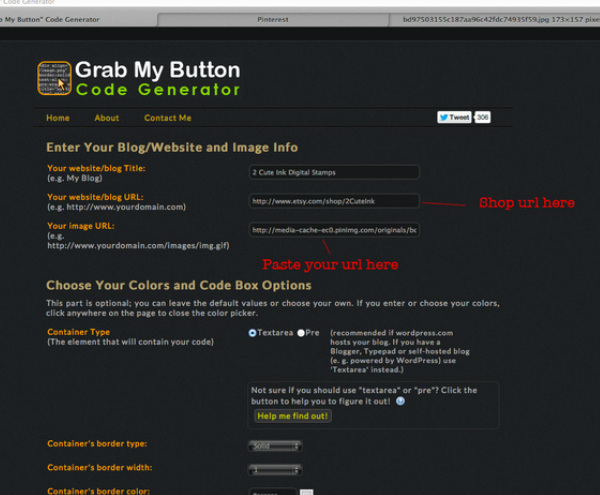
Step 10. Go to GrabMyButton and paste your URL in the "Your Image URL" box.
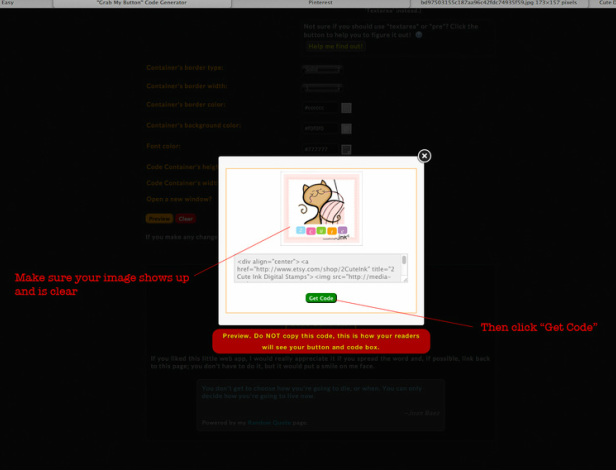
Step 11. Scroll down and hit the "Preview" button.
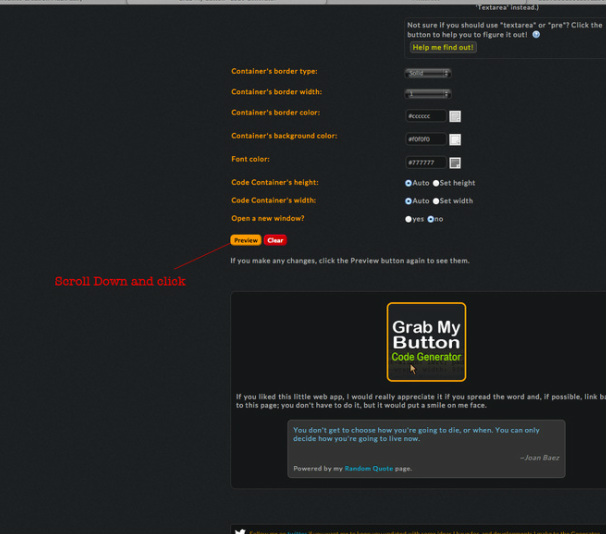
Step 12. Look and make sure your button image appears and is not blurry, then hit the green "Get Code" button.
Step 13. Now highlight ALL of your code and Copy.

Step 14. In weebly grab the "Embed Code" widget and place on you side bar, hit paste and you will have your button!
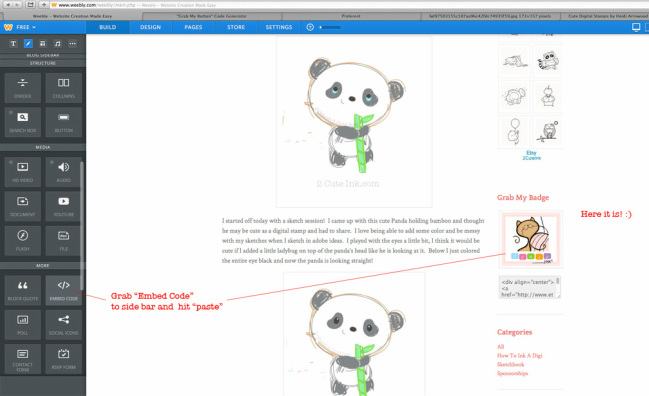
Step 15. In Blogger add the HTML/JAVASCRIPT widget, paste the code and there is your button.

I hope you enjoyed learning how to create your own button so you can add it to your blog! :)