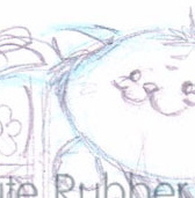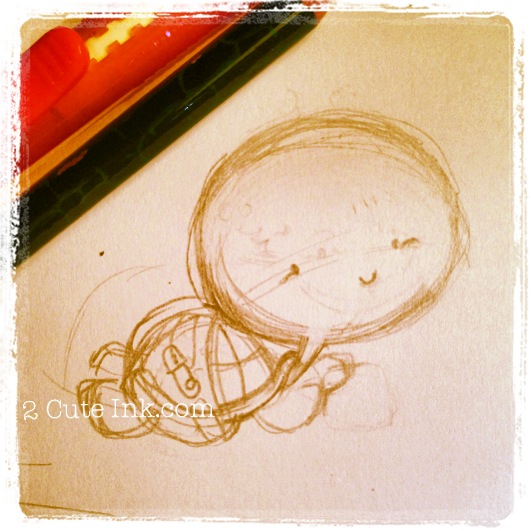
Here is a little sneak peek of one of the school digital stamps that will be released next week!
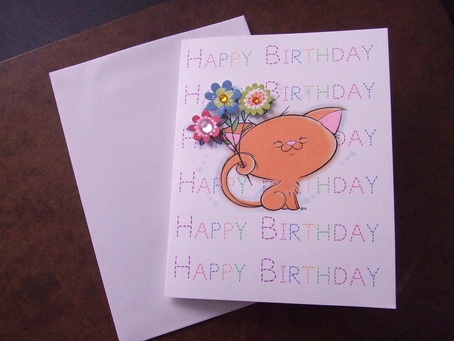
I went for a thicker outline this time, which I think fits very well! I think am going to try and color all my digital stamps from now on!
I went for a thicker outline this time, which I think fits very well! I think am going to try and color all my digital stamps from now on!