2 Cute Ink Digital Stamps and More!
  • Home
  • Etsy
  • Blog
  • Contact
  • Newsletter

How to Make A Birthday Card Tutorial

3/19/2014

77 Comments


Card Tutorial
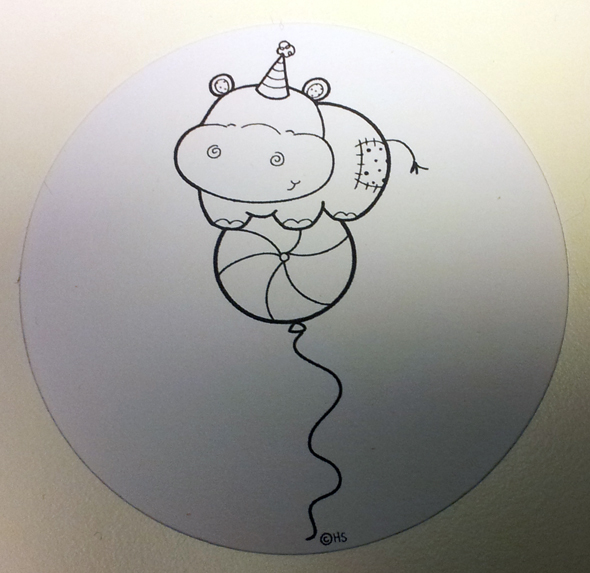
This is a step by step tutorial on how to create a fun card using the adorable 2 Cute Ink Birthday Hippo image. 
  
What you will need:  

  •   Birthday Hippo image
  •  Papers – I used Doodlebug designs Boys Only 6x6 papers
  • Card blank or cardstock for card base
  •  Adhesives
  • Dies – I used the Deckled Rectangles and the Nested Circles from Spellbinders

Step 1
Print the digi image and let the ink dry fully. I die cut the image out of my page using the second largest circle die.
Step 2
Die cut two deckled rectangles from your paper. I used the largest deckled rectangle on my first piece. This piece of paper was 13.5cm high and 6cm wide. It worked out slightly too short for the top and bottom of the die to cut the edges which was perfect as I wanted them straight on the top. You could always trim them straight after die cutting if you needed to though.
 
I used the next size down deckled rectangle die for my second piece of patterned paper.
 
Step 3
I cut a piece of the patterned paper to 13cm x 13cm to mat onto my 13.5cm x 13.5cm card base..
Step 4
I wanted to create a scalloped effect on one side of my orange patterned paper. To do this I used a 1inch circle punch to cut out lots of circles. I then used red line tape to stick this onto the back of the orange paper.
Step 5
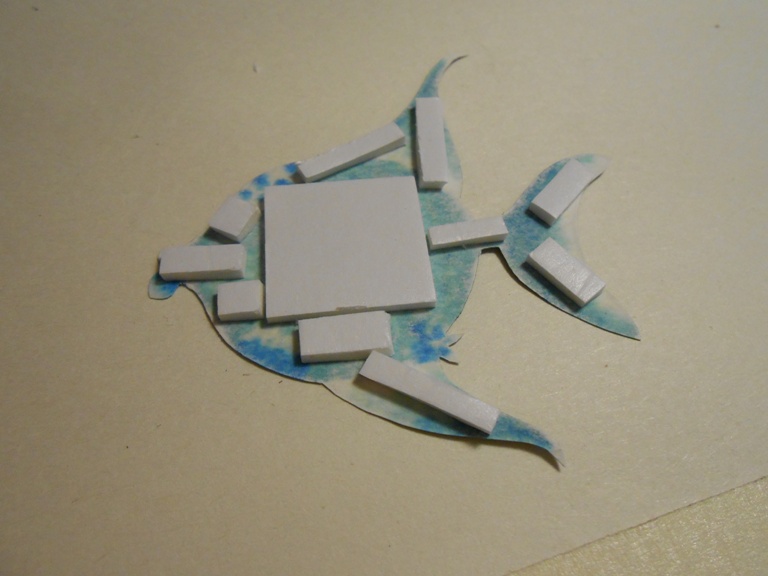
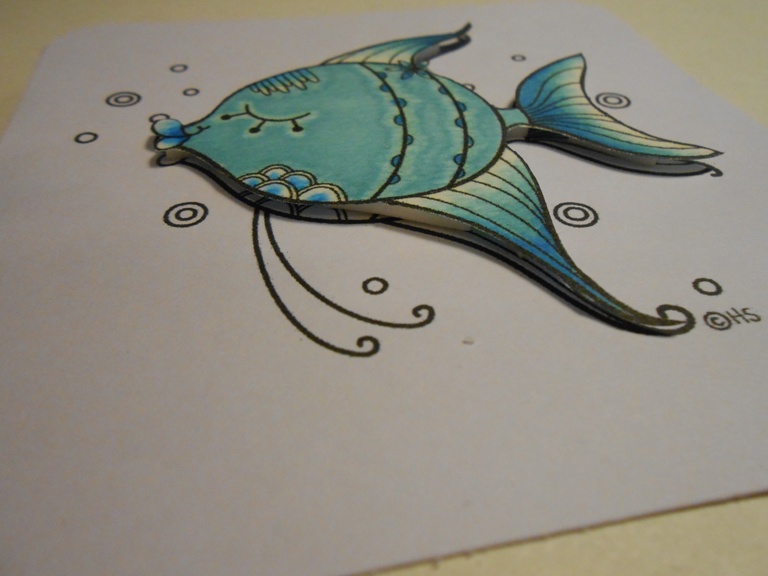
I die cut a larger circle than my image from green patterned paper and mounted my image onto this with foam pads for dimension.

 Step 6
To add some interest to my grey patterned paper I doodled around the edges with a looping pattern.

Step 7
I glued down my two deckled rectangles. The orange piece goes right to the top and bottom of the white card base. The smaller piece slots in behind it.
Step 8
For my sentiment I cut a banner shape from the grey card and stamped my sentiment on it. I also added some faux stitching with a black pen.
Step 9
I glued my circle with my image straight onto the card.
 
 Step 10
I glued my sentiment banner directly down also. I added more to the faux stitching to make it look like it was stitched onto the card base. I added some gems in colours to match the papers for more interest on the sentiment.

Once all these elements are glued on you are done. Enjoy the card!!

77 Comments

Tutorial: Resize Your Digital Stamp In Microsoft Word and Then Make a Card

3/19/2014

2 Comments


Digital Image Tutorial
Using 2CUTE INK
By Chris Sather
 (http://cattsscratchingpost.blogspot.ca/)

1.      Open up Microsoft Word.
2.    Click on “INSERT”, “PICTURE” , “FROM FILE” (wherever you have your digis saved is where you will collect it from)


3.    Double click image you want to use, and it will appear on your Word document.  It may not be the size you want, so I’m going to teach you how to change that!

4.    When I insert the BABY PANDA image from 2Cute Ink, this is what my screen looks like.  


5.  Now, to save paper, I always try to print 4 images to a page, so  
     I will need to CROP this image before I resize it.  


In mid-crop:


Cropped:

6. RESIZING:   Click on your image so the lines are showing around it (as in picture above).  Put your cursor on one of the 4 corners – you will see a diagonal arrow – this will keep the shape of the image without distorting it.  Drag the arrow/corner OUT to make your image larger or IN to make your image smaller. 


7.  Once you have your desired size, you are ready to PRINT! 
(I just have a Canon MP240 – nothing fancy and it prints great.  The ink dries quickly and works well with alcohol based markers)


8.    Now onto the fun part – making a card with these ADORABLE images!!!
9.    I have coloured Baby Panda with Copics (tons of tutorials on colouring so I won’t bore you with those details!)


10.                       Using my Nestabilities and my Cuttlebug, I have cut out my image using Classic Circles, and a background piece of cardstock using Classic Scalloped Circles. 


11.      Sponge the edges of your circle with ink (I have used Mellow Moss from Stampin’ Up) – the sponges are round art sponges that I cut into chunks (from a Dollar Store).


12.                       I have cut a 5” x 5” card base out of Kraft.  The yellow designer paper is cut at 4.75” x 4.75”.  I am going to use a very simple layout so that I can showcase the adorable image!  I have also chosen neutral colours so this card can be used for any baby!


13.                       Using a scallop border punch and a 5” x 1.5” piece of Kraft paper, punch along one edge of the Kraft piece.


14.                       Attach punched piece about 1” up from bottom of card.  Attach ribbon or ric rac along the top of the Kraft piece.  Snip off edges with ribbon scissors.


15.                       Using pop dots, pop up image and place in center of card, about halfway down the Kraft piece.


16.                       Using green pearls (or rhinestones), attach 3 on each side of scalloped circle. 

17.                       Add 2 more green pearls to each side of the Kraft strip on your card.  Stamp sentiment below scallop in a dark green.


18.                       Add Crystal Lacquer to the baby bottle for a 3 dimensional effect. To add a bit more texture, add some Sakura Stardust Gelly pen to the stars and moons on the blanket. 


19.                       All done!!!!


Thank you to Heidi at 2Cute Ink
for encouraging me to put together this tutorial for you and for letting me use Baby Panda! I had a lot of fun making it!!!
I hope you enjoyed this tutorial!  Please stop by the 2Cute Ink shop (http://www.shop.2cuteink.com/) to check out the other adorable images that Heidi has for sale! And please feel free to stop by my blog anytime:  http://cattsscratchingpost.blogspot.ca/
Hugs,
Chris
2 Comments

How to Make and Aquarium Card Tutorial

3/18/2014

2 Comments

 
Hi, it is Timi here today. I am going to show you a quick and fun tutorial on how I created this "aquarium card".


A few things you will need:
Angel Fish Digital Stamp
blue cardstock
piece of acetate

Cut a piece of card stock 4x12 inch. Score it at 4, 4 1/8 and 3 7/8. Cut a window out of the card stock as show in the picture.


Print the Angel Fish twice and only colour one in.


Fussy cut the colored fish out and the other one needs to be cut to match the size of the card.


Place foam adhesive on the coloured fish and adhere it on the other printed fish.


Colour the piece of acetate with alcohol inks


Assemble the card: glue the acetate on the back of the window; glue the panel with the fish on the side that is behind the window. 


You can add white card stock inside for you message.


I hope you liked this idea,
Timi


2 Comments
    Picture

    ABOUT

    Here you will find tutorials from Current and Previous DT members

    Etsy Shop


    Tutorials

    All
    Aquarium Card
    Brthday Card
    Resize A Digi


    RSS Feed

Powered by Create your own unique website with customizable templates.